Updated 2019/12/01
This is part of a series about tuning the diatonic harmonica
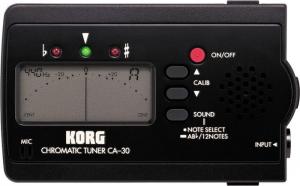
Part 1 - Tune a harmonica using your ears and a simple chromatic tuner
Part 2 - More Better - ultra precision tuning
Part 3 - Perfect Pitch: Using breath dynamics for tuning
___________________
There’s nothing like playing a harp that’s in tune! You can set up a harp to be as loud and responsive as you can but if it’s not in tune, it won’t have any mojo.
Tuning a harmonica with a guitar tuner can be a painful experience because the needle just seems to bounce around. Using an analog strobe tuner makes things easier but strobe tuners are bulky and are very expensive. No matter what equipment you use, you need to employ some breathing techniques to get the pitch of each reed right.
You can do it! Here’s a tuning method that relies on the use of a basic chromatic guitar tuner and the technique of fine tuning by eliminating "beating" while playing octave splits.
How your own harps need to be tuned is entirely up to your playing style. Use this method to get your harps in better tune than most out-of-the-box harps.
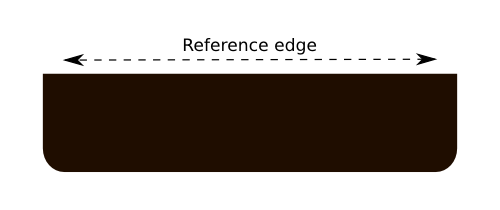
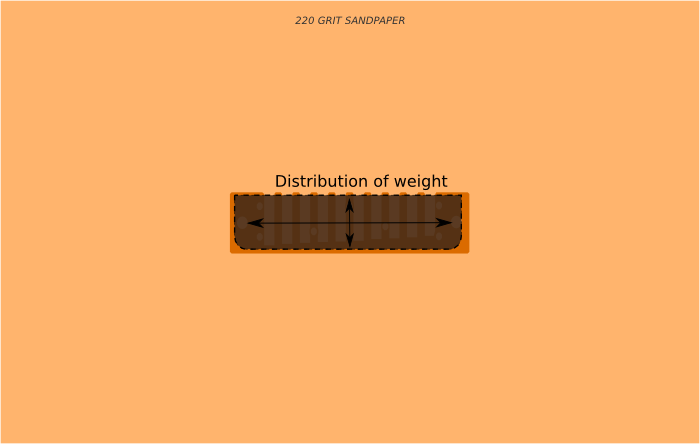
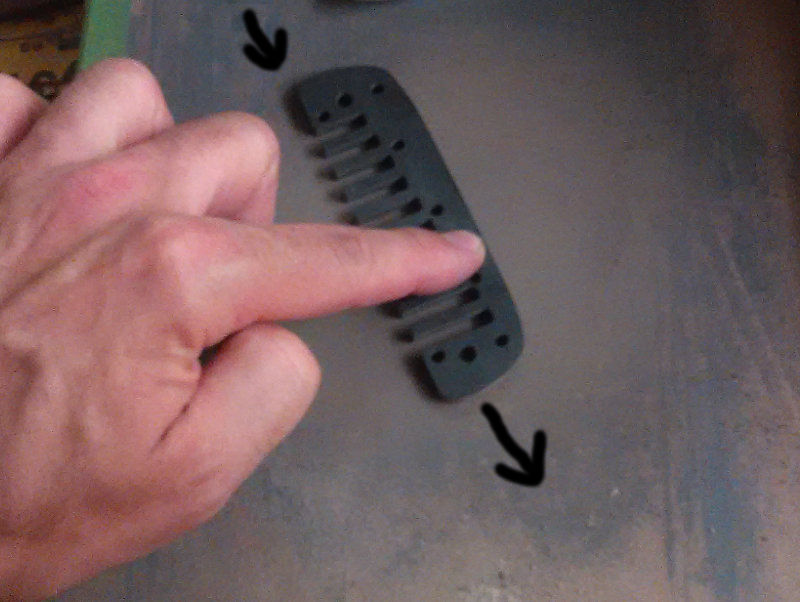
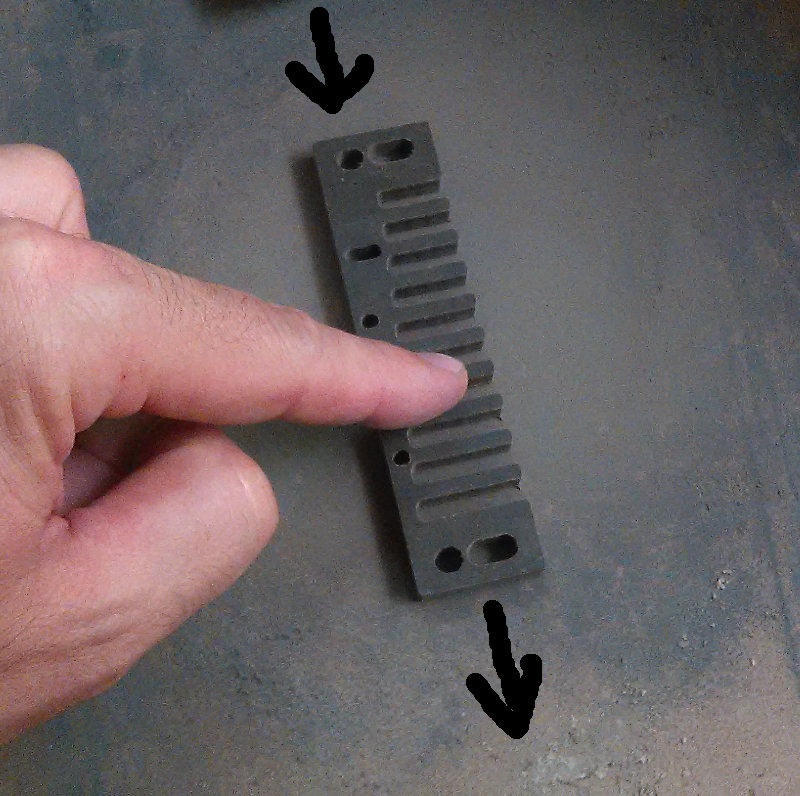
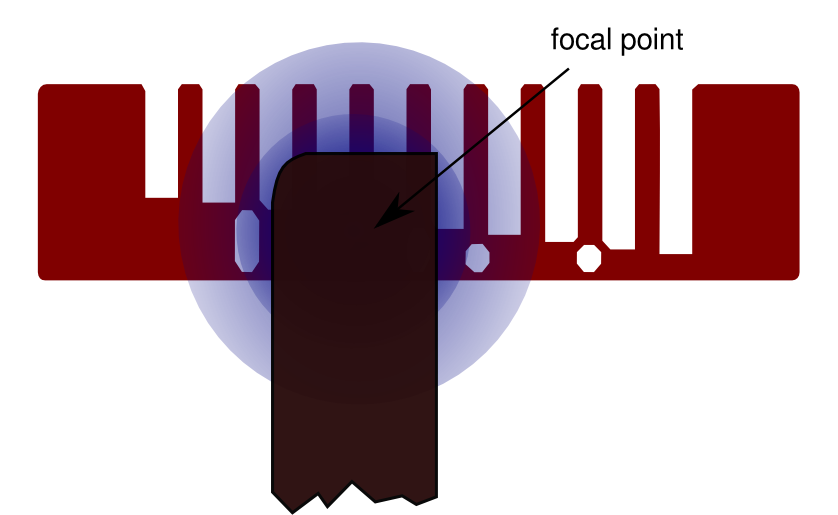
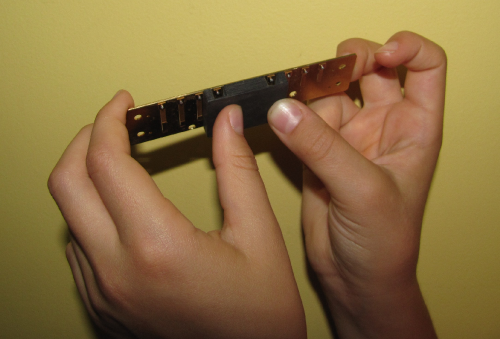
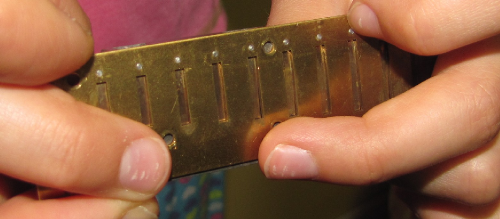
.img_assist_custom-400x233.png) Use a swiss file, a good emery board or a diamond-tip engraving tool to remove brass from the tip of a reed to raise its pitch. Remove brass from the base of the reed to lower it. Support the reed from underneath with paper or a tempered steel support tool.
Use a swiss file, a good emery board or a diamond-tip engraving tool to remove brass from the tip of a reed to raise its pitch. Remove brass from the base of the reed to lower it. Support the reed from underneath with paper or a tempered steel support tool.
Remove some brass and then recheck. Don’t bet on a hole-in-one, it’s far too easy to overshoot the mark!
Believe me, overshooting the mark is the number one harmonica tuning frustration and will account for most of the time you spend tuning unless you address the problem. Aim for getting halfway to the pitch you want in one shot. Then, go back for more, this time aiming to get halfway again until you “sneak up” on the target pitch. You will save a lot of time going about it this way. If you can land on the pitch you are aiming for on the fifth attempt, consider that success!
Warm the harp by playing it for a few moments and then tapping out the moisture before reading the pitch. If you forget to warm the harp, you may end up with unpredictable results.
It takes time. Don’t aim for completing the task in one sitting. Tune it and the come back to it to double-check.
Should you tune it today? Brass needs to rest/relax and work itself out - if you have made changes to the reed shape, let the harp sit for a few days before you expect to be able to tune it with accuracy.
 A chromatic tuner doesn’t have the accuracy to be able to get the pitch as close as you need it to be to play octaves, splits and chords that sound right. If you never make use of chords or other combination of notes, you can get away with less accuracy and tune your harps to Equal Temperament.
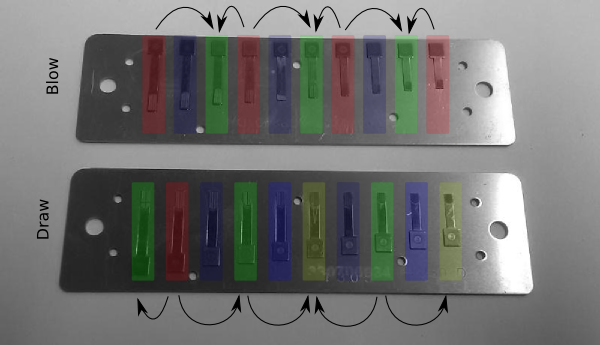
To tune a note by “using your ears”, tune notes in pairs. Most notes in Standard Richter have one or more of the same note one octave away on the same reed plate.
First use the tuner to get the pitch of one reed as close as you can. Then find its octave and tune that one, too. Play the notes together and listen if it sounds good. When two notes are out of tune, you will hear beating - a pulsing wobbly unpleasant sound.
Although your tuner may indicate that two notes are of the same value, it's not accurate enough to get it perfect and they probably will still sound out-of-tune (you will hear beating) when you play them together as an octave split.
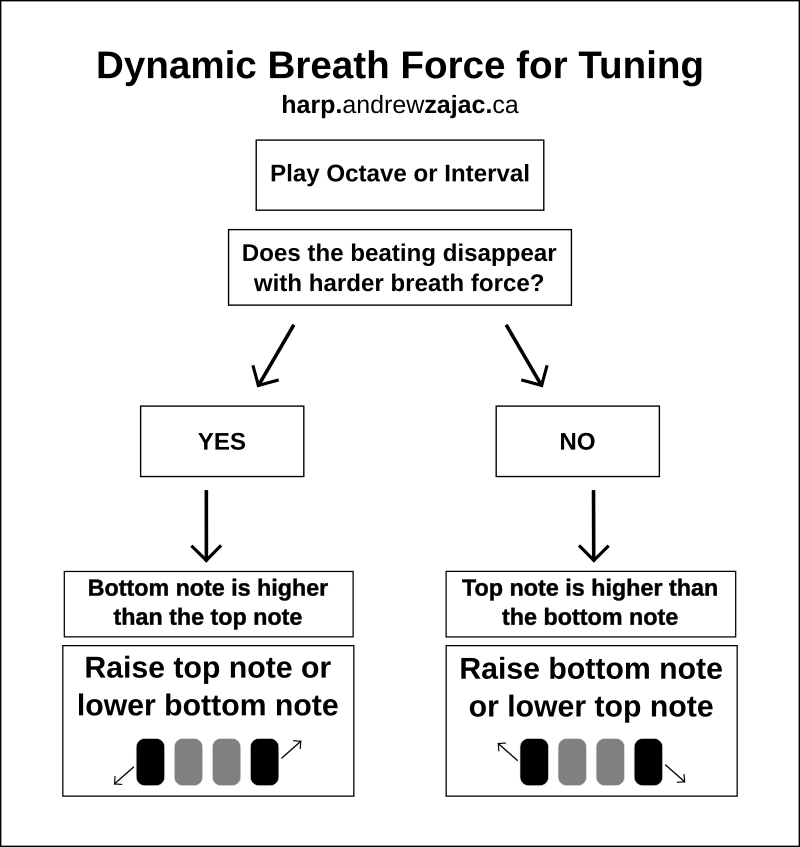
Play the octave harder for a moment. If the beats disappear, the lower of the two notes is tuned too high. If nothing happens or the beats get worse, the lower note is too low. That will give you the information to decide which note to tune and in what direction. Obviously, if you just tuned a reed using some reference, don’t adjust that reed, rather adjust the other note in the octave split.
Make small changes to each reed and recheck often. Higher reeds require surprisingly little work to change pitch.
If you are not sure which note is out-of-tune or if you overshot the mark and have lost your point of reference, try playing each note individually and looking at the tuner again for hints. Try using other hints, too. You can play each note with another audio source like a keyboard or another instrument. Or, depending on the adjacent notes, play a chord and listen for extra notes that appear when the harp is in tune. Getting the harp in perfect tune is a difficult process. It gets easier with practice.
Also, it’s normal to hear beats when playing octave splits very softly, that is playing well below normal breath force. Force on any reed will lower the pitch of the note being played and normal tuning is adjusted for this amount of force - if you play a note with far less breath force than normal, it will sound sharp. The lower the reed, the more sensitive it is to this phenomenon. Lower reeds need to be tuned a little sharp to compensate for this effect. Aim for getting the octave split in tune when playing with your everyday breath force level.
What to do when the tuner says two notes are in tune, but they sound out of tune:
Tuning Method for octaves and chords:
The old-fashioned method of tuning a harmonica involves using a table of offset values for each reed. (See the table at the end of this document.) You would need a very precise tuner and have super-human breath control to be able to get each reed to those exact values. Most inexpensive tuners are pretty accurate about indicating when the needle reads zero so we use that to our advantage and change the calibration reference of A concert pitch instead of trying to figure out exactly what value the needle is showing. Changing the reference of A 440 by one Hz changes the pitch of each note by about four cents. For example, to bring a reed to -12 cents we change the reference of A from 442 to 439 and then tune the reed to get the needle to read zero.
Using a chromatic tuner that has an adjustable reference (at least A=436 to A=444) do the following:
(The needle must read zero unless specified.)
Root (Tonic) notes
Tune Blow 4 to A=442
Tune Blow 1 to match Blow 4 (use your ears to find beating and then try to eliminate it by fine tuning)
Tune Blow 7 to match Blow 4
Tune Blow 10 to match Blow 7
Fifths
Tune Blow 6 to A=442, with the needle just to the right of zero.
Tune blow 3 to match blow 6
Tune blow 9 to match blow 6
Thirds
Tune Blow 5 to A=439
Tune blow 2 to match blow 5
Tune blow 8 to match blow 5
You are done the blow plate. Verify your work by playing the 1234 chord and listen for beats. Go up the harp that way.
Root (Tonic) note
Tune Draw 2 to A=443. It should match blow 3 by ear.
Fifths
Tune Draw 4 to A=443, with the needle just to the right of zero
Tune Draw 1 to match Draw 4
Tune Draw 8 to match Draw 4
Thirds
Tune Draw 7 to A=440
Tune Draw 3 to match Draw 7
Flat sevenths
Tune Draw 5 to either A=436 (1950s tuning), A=440 (current Marine Band), A=443 plus a hair (19-limit)
Tune Draw 9 to match Draw 5
Nineths
Tune Draw 6 to A=444
Tune Draw 10 to match Draw 6
You are done the draw plate. Play the 12345 draw chord and listen for beats. Go up the harp.
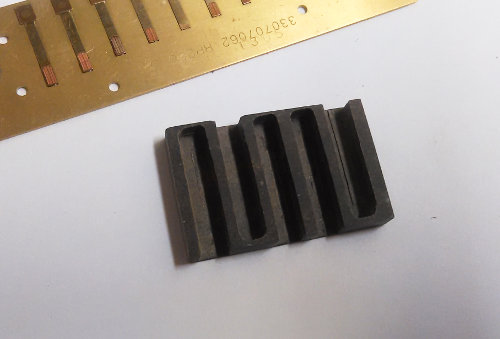
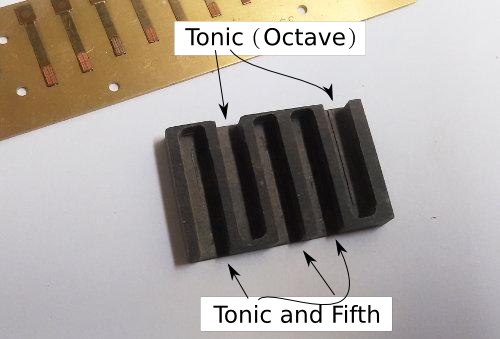
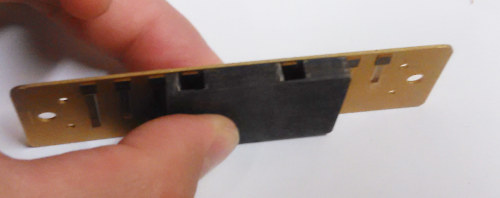
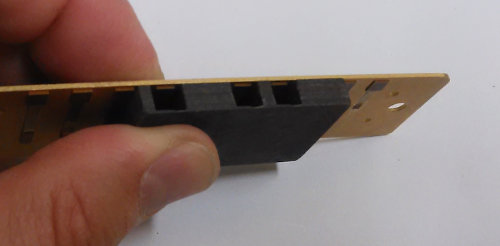
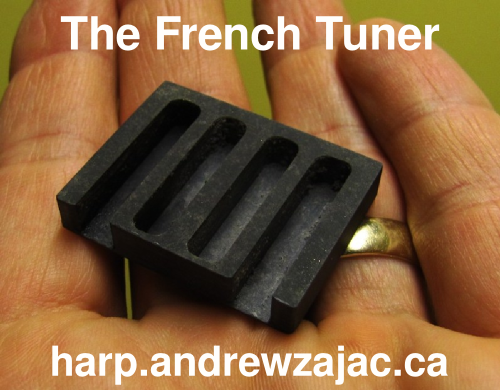
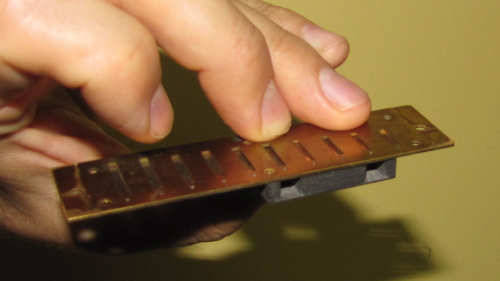
Use the French Tuner™ to speed things up! Although this tool is optional, it makes tuning the blow plate faster and easier than putting the harp back together every time you need to play the reed you are tuning.
See this page for more information on tuning your harp with accuracy: Ultra Precision Tuning
Here’s a comparison of the most popular harmonica tunings:
") Common Tuning offsets from zero (equal temperament)
Common Tuning offsets from zero (equal temperament)